In this tutorial, you will learn how to install LAMP stack on Ubuntu 20.04. LAMP stands for Linux (Operating System), Apache (Web Server), MySQL (Database Server) and PHP(Runtime Environment). It is assumed that you have a stable Ubuntu setup. You can try this in your local computer or production environment. Let’s jump into the tutorial.
sudo apt-get upgrade
sudo apt-get update
1. Install Apache
sudo apt install apache2
Make sure Firewall allows Apache to listen via port 80. Otherwise it is required to open this port so that your web server can handle incoming request from web clients. Let’s do some quick test by visiting public IP address.
http://YOUR_WEB_SERVER_IP_ADDRESS or http://localhost in local environment.
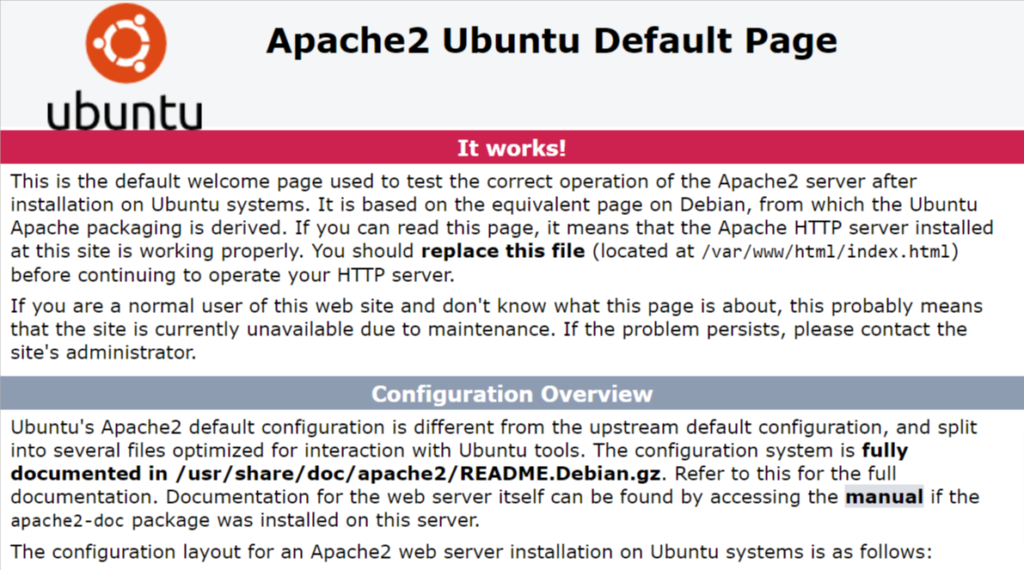
Everything is fine if you can see default Apache web page as below.
2. Install MySQL
sudo apt install mysql-server

sudo mysql_secure_installation
3. Install PHP
sudo apt install php libapache2-mod-php php-mysql

php -v
You would run following command to install other php extensions.
sudo apt install php-[extname]4. Creating Virtual Hosts
cd /etc/apache2/sites-available/
sudo a2dissite 000-default.conf
sudo service apache2 restart
sudo nano app.conf
Sample virtual host file for Laravel application
<VirtualHost *:80>
        ServerName abc.com
        ServerAlias www.abc.com

        ServerAdmin webmaster@localhost
        DocumentRoot /var/www/abc.com/public/
        <Directory /var/www/abc.com/>
        Options FollowSymLinks
        AllowOverride All
        Order allow,deny
        allow from all
        </Directory>
</VirtualHost>
Enable virtual host
sudo a2ensite app.conf
sudo apache2ctl configtest
sudo service apache2 restart
Create Apache user and set permissions for /var/www directory
sudo adduser ubuntu www-data
sudo chown -R www-data:www-data /var/www
sudo chmod -R g+rw /var/www
sudo service apache2 restart
Change DirectoryIndex settings so that .php files can get priority over .html files during rendering.
sudo nano /etc/apache2/mods-enabled/dir.confUpdate file as below.
<IfModule mod_dir.c>
        DirectoryIndex index.php index.html index.cgi index.pl index.xhtml index.htm
</IfModule>
sudo service apache2 restartNow, it’s better to do some quick test to verify virtual host is working properly. Create a directory named abc.com inside /var/www.
sudo -u www-data mkdir abc.com
cd abc.com
sudo -u www-data mkdir public
cd public
sudo nano info.php
Go to http://abc.com/info.php and check that expected web page is rendered. Replace abc.com with your domain name / IP address.
5. Install PhpMyAdmin
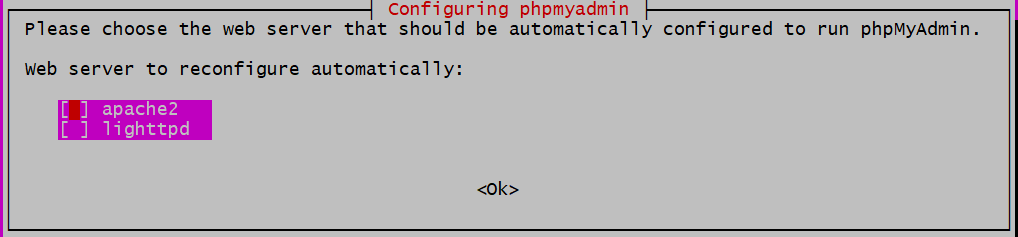
sudo apt install phpmyadmin php-mbstring php-zip php-gd php-json php-curlAs we’re using Apache as the web server, keep the default selection.
Select Yes on the following screen.

Next, provide MySQL application password for phpMyAdmin.
In Mysql Server secure installation step, we have enabled Validate Password plugin. With this selection, it will create error while attempting to set phpMyAdmin user password. Now we need to solve this. Select abort in the error screen.
We’re going to disable Validate Password plugin in order to complete phpMyAdmin installation and enable again.
sudo mysql

mysql> UNINSTALL COMPONENT "file://component_validate_password";

mysql> exit

sudo apt install phpmyadmin


sudo mysql
mysql> INSTALL COMPONENT "file://component_validate_password";
mysql> exit
Enable mbstring extension.
sudo phpenmod mbstring
sudo systemctl restart apache2
Now, it is possible to access phpMyAdmin using web browser. Go to http://abc.com/phpmyadmin. Replace abc.com with your domain name / IP address. If this didn’t work, you may add following line to the bottom in apache configuration file.
sudo nano /etc/apache2/apache2.confScroll down all the way and add this line.
Include /etc/phpmyadmin/apache.confRestart Apache server and you will find phpMyAdmin interface.
sudo service apache2 restart7. Configure MySQL Root User
At this moment, MySQL root user is using auth_socket plugin for user login. This setup does not work when we try to login to PhpMyAdmin. For this, it needs to use mysql_native_password or caching_sha2_password. Therefore, Let’s fix this in MySQL console.
sudo mysql
mysql> SELECT user,authentication_string,plugin,host FROM mysql.user;
You can see that root user is based on auth_socket. Now set your password using caching_sha2_password.
mysql> ALTER USER 'root'@'localhost' IDENTIFIED WITH caching_sha2_password BY 'password';Follow above steps and verify root user account is updated to use caching_sha2_password.
Now you may login to PhpMyAdmin and create additional users, databases…
To add some layer of security, it is worth to secure PhpMyAdmin in live environment.
8. Install Composer – [Extra]
php -r "copy('https://getcomposer.org/installer', 'composer-setup.php');"
sudo php composer-setup.php --install-dir=/usr/local/bin --filename=composer
composer --version
php -r "unlink('composer-setup.php');"